
| Darin McQuoid | Blog | Reviews | Tutorials | River Directory |
Nikkor
16mm f/3.5 fisheye disassembly
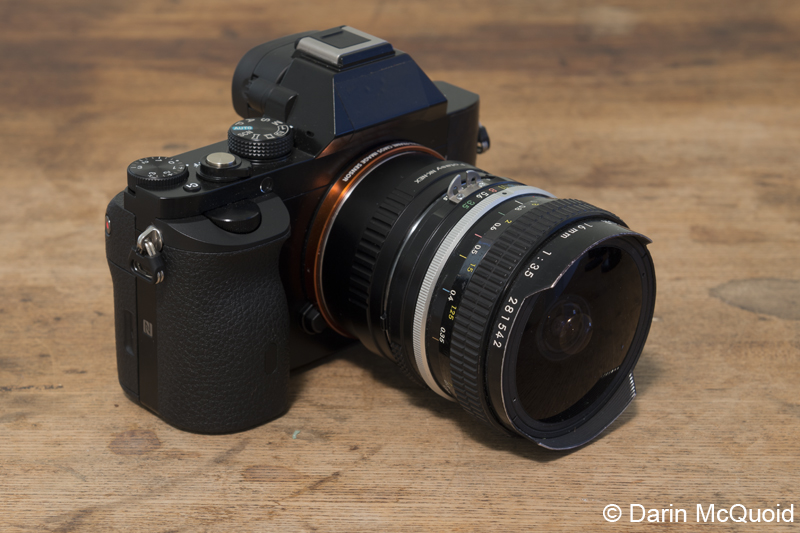
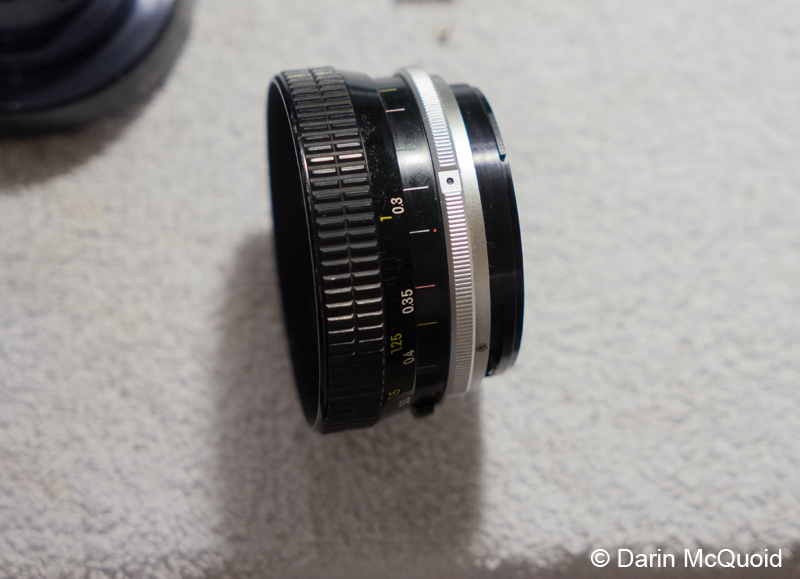
A relative unknown the most Nikon users, the 16mm f/3.5 fisheye was made from 1973-1979 with a total of 7,860 being made. It doesn't command excessive prices unlike the often lusted after "rare" 58mm f/1.2 Noct-Nikkor of which 11,413 were made. The 16mm f/3.5 "only" covers 170 degrees, while the 16mm f/2.8 that went on to become the AF-D model covers 180 degrees, yet those who have used both agree that the older lens performs better at wider apertures. My copy had no lubrication left on the focusing helicoids, something not too surprising for a 37 year old lens.
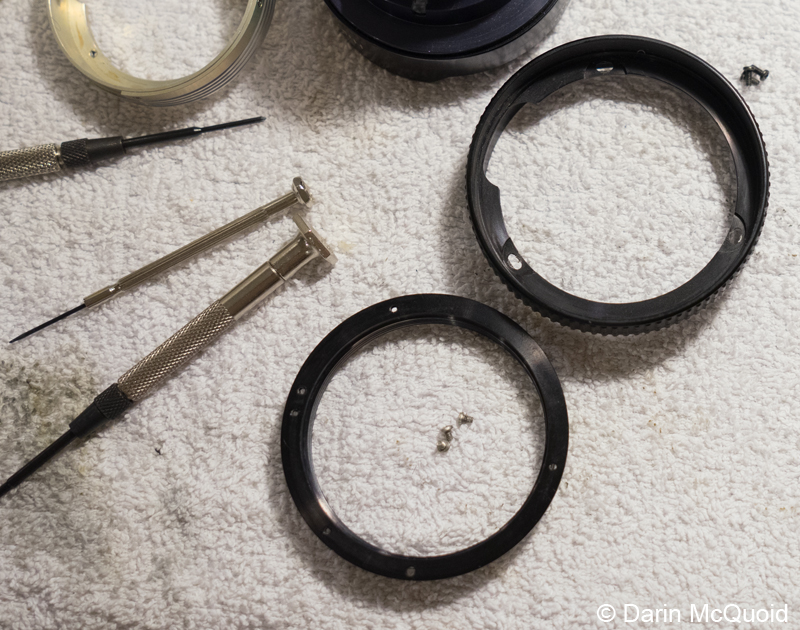
It's important to have the right tools as cross type screws on lenses are Japanese Industrial Standard (JIS). A Phillips screwdriver will strip the heads. I suggest working on an old towel as screws bounce off hard surfaces if dropped, and are too easily lost. For this lens it's also critical to have a spanner wrench.
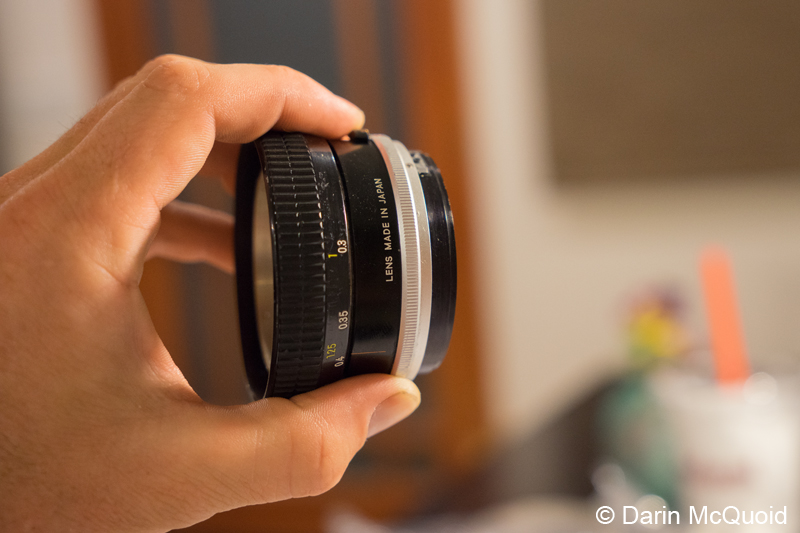
Use the spanner wrench on
the outer
(slotted) of two rings on the front of the lens. Unscrew
counter-clockwise, this loosens the front optical block. Pull it out
and set aside somewhere safe.
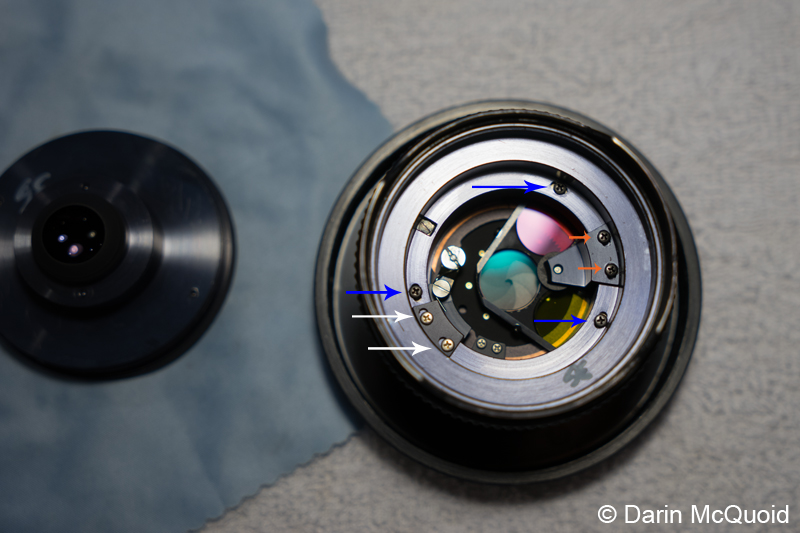
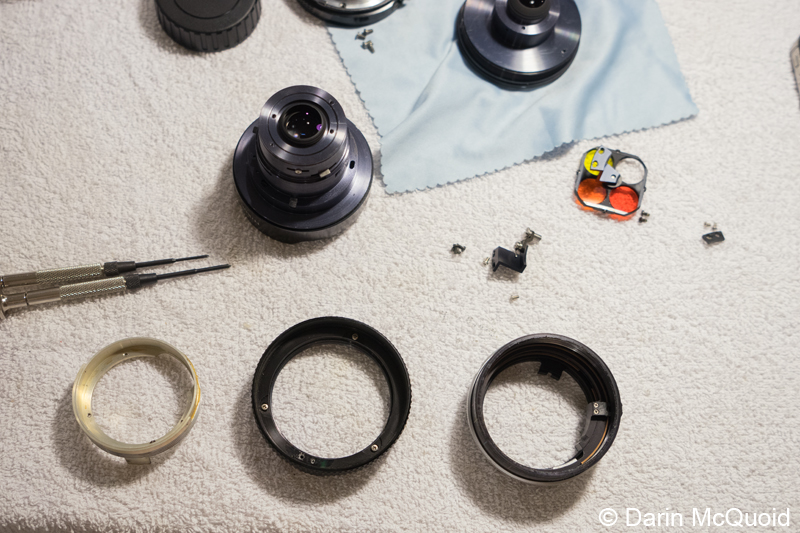
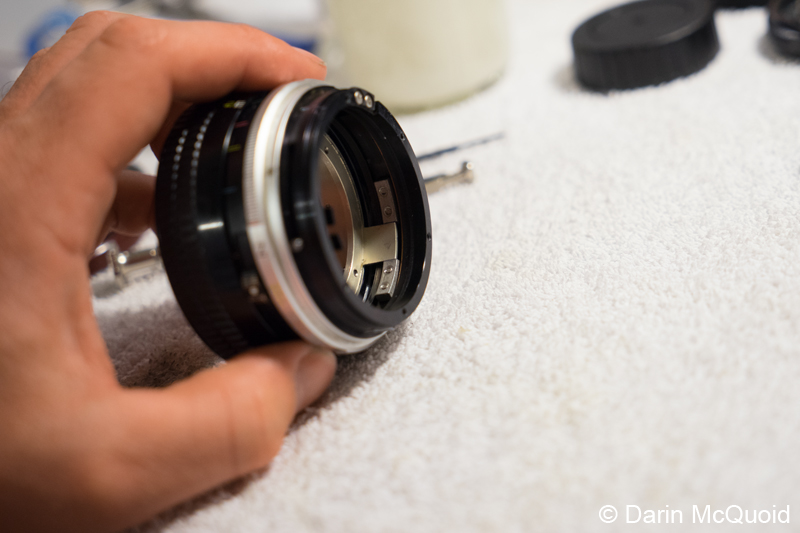
Looking inside there is a lot going on, but thankfully it's more simple than it looks.


Looking inside there is a lot going on, but thankfully it's more simple than it looks.
Remove the screws the white
arrows are
pointing too. Life out the spring and set aside with screws. Then
remove the screws the orange arrows are pointing to. Remove color
filters and set aside with screws. Finally remove the three screws the
blue arrows are pointing to. Now the rear optical block pulls out the
front and can be set aside.
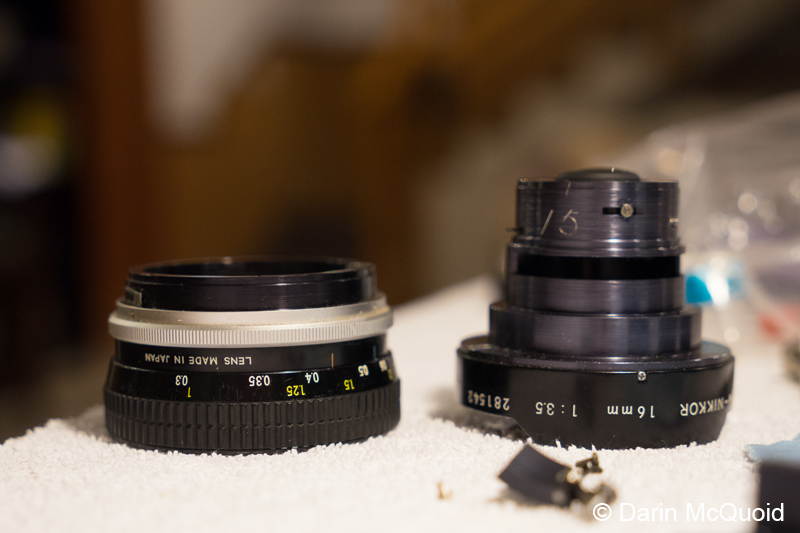
The front optical block,
color filter
mechanism and spring mechanism.
It's interesting, the
built in hood is
attached to the rear optical block.
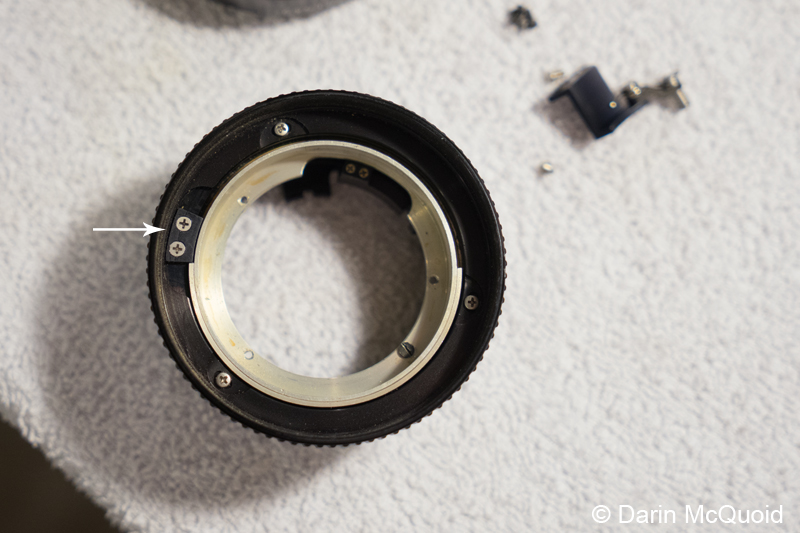
I also removed the rear lens mount, but wouldn't suggest doing so at this stage. This is what we're left working with, really just the helicoids.
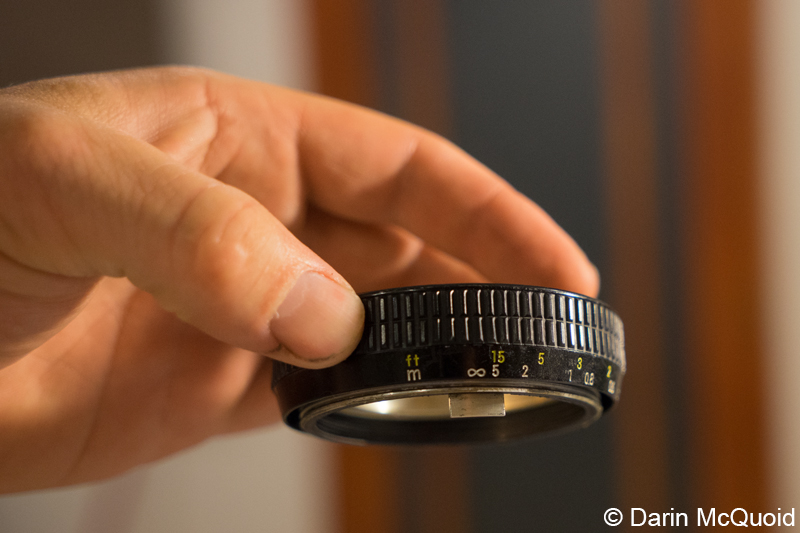
Remove the hard focus
stop that's held
in by two JIS screws.
I also removed the rear lens mount, but wouldn't suggest doing so at this stage. This is what we're left working with, really just the helicoids.
Now we're to the point of
no return. Slowly
unscrew the outer focusing helicoid. Go slow while pulling
the inner helicoid away from the outer body with constant
pressure. It's very
important
to know where the focusing helicoid separates, because it needs to be
threated back on in the same exact spot or focusing will be off when
reassembled. On my copy it was just over three turns.
Threads separate where the 0.3
and M in
Made line up on my copy.
Now there is an inner helicoid inside the focusing ring. This unscrews out the front of the focusing ring.

My copy separates with the rear tab lining up with the infinity mark.
Now there is an inner helicoid inside the focusing ring. This unscrews out the front of the focusing ring.
My copy separates with the rear tab lining up with the infinity mark.
On the bottom we can see the
innermost
helicoid, focusing ring helicoid and the main body helicoid on the
right.
Next the focus ring must be taken off attached helicoid to achieve thorough cleaning. Remove three silver JIS screws and pull apart.
Next the focus ring must be taken off attached helicoid to achieve thorough cleaning. Remove three silver JIS screws and pull apart.
Clean all helicoid threads and
apply
grease of choice. I
use denatured alcohol, a toothbrush and paper towels to clean the
threads. Install focus ring back to
helicoid in
the same position with the three silver JIS screws. Thread silver inner
helicoid in at correct position. The next step is easier if you remove
the rear lens mount (five JIS screws). Thread focus ring
helicoid
onto lens barrel helicoid. The tough part here is getting the inner
silver helicoid to line up at the correct spot for the tab to slide
into the guides.
The inner helicoid tab needs
to go
between these two guides while screwing on the focus ring helicoid.
Once done with this step put
the rear
optical block back in. It's easier to line things up with the rear lens
mount off, the lever for the color filters needs to line up with the
correct tab, as well as the aperture tab on the optical block needs to
line up with the prong on the outer barrel. It lines up and takes a
little push to move into place. Install rear lens mount to protect rear
element.
I found it best to go in a different order from disassembly for these steps. Install three JIS screws that hold the optical block in pace (blue arrows in earlier photo). Set the color filters in place, making sure the correct color filter lines up with the filter lever on the outside of the lens.
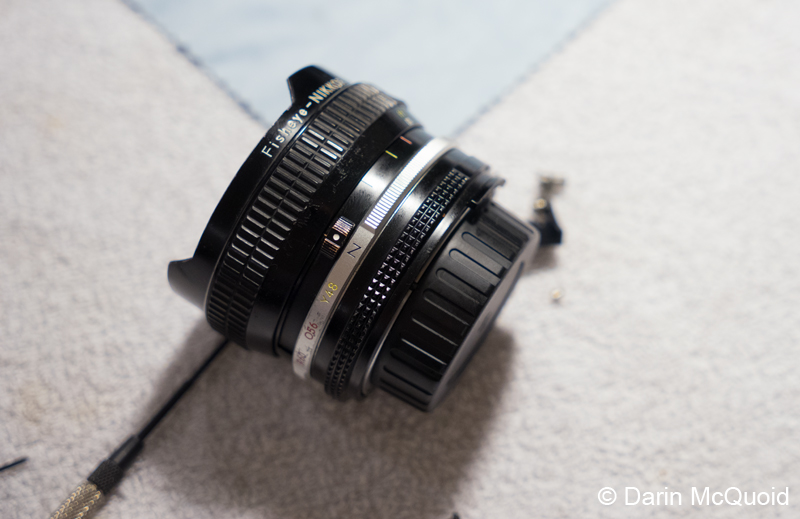
I did mine with the filter in
the N
position.I found it best to go in a different order from disassembly for these steps. Install three JIS screws that hold the optical block in pace (blue arrows in earlier photo). Set the color filters in place, making sure the correct color filter lines up with the filter lever on the outside of the lens.
With the filters installed
test them. If
they are not working correctly, fiddle with the mounting screws (orange
arrows in earlier photo) as they are in slots designed to give you some
side to side options to line things up correctly. Once the filters are
moving as they should install the spring mechanism (white arrows in
earlier photo) and test again. Install front optical block until tight
and that's it, enjoy a beverage of choice!
For lubrication I've been using CRC White Lithium Grease in a spray can. I spray it in a jar and let the carrying agents evaporate overnight. It seems to be the right viscosity lubricant for AI and earlier lenses, but too thick for AI-S. If it feels too thick I'll thin by mixing in 3 in 1 oil to taste.
For lubrication I've been using CRC White Lithium Grease in a spray can. I spray it in a jar and let the carrying agents evaporate overnight. It seems to be the right viscosity lubricant for AI and earlier lenses, but too thick for AI-S. If it feels too thick I'll thin by mixing in 3 in 1 oil to taste.
HTML
Comment Box is loading
comments...